Home Made Weather station with Arduino
Home Made Weather station with Arduino
Home Made Weather station with Arduino
Many like me are thirsty for information, have always wanted to self-produce a simple home weather station to monitor the environmental conditions inside the house.
Not long ago I decided to interface an Arduino board with the fantastic free IOT platform Thingspeak, so I can check the environmental data of my home at any time and anywhere.
In this tutorial
we will see how to send values of Temperature, Pressure, Humidity and flame presence of your home to the Thingspeak platform.
First things First
Creating a free account on Thingspeak.com is simple, go to the address and click on the top right of "Register".
Once registered and logged in, just click on the "Channels" drop-down menu at the top and then on "My Channels"
When you are on "My Channels" page click on "New Channel"
Enter all the necessary data (you can call them as you wish) and activate 5 fields, as I did:
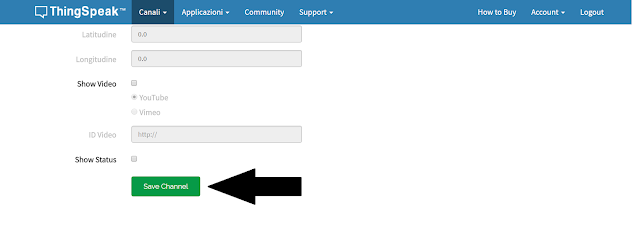
Finally click on "Save channel" at the bottom of the page and you are ready to continue
the data that you will need to remember are "Channel ID" and "Write API Key", you will find them by clicking on your channel in the "API Keys" section
All Set!!
Now we can continue with the hardware to be connected and installed.
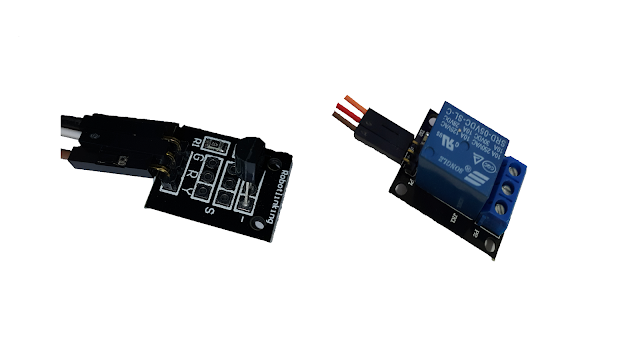
What we need:
Assembling
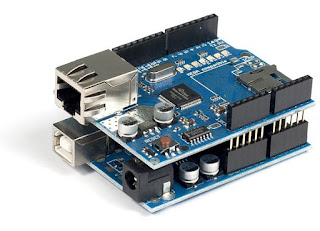
Mount the Ethernet card on the arduino board
- BMP180 Vcc --- Arduino Ethernet 5V
- BMP180 GND --- Arduino Ethernet GND
- BMP180 SCL --- Arduino Ethernet Analog A5
- BMP180 SDA --- Arduino Ethernet Analog A4
- DHT11 Data --- Arduino Ethernet Analog A0
- DHT11 GND --- Arduino Ethernet GND
- DHT11 Vcc --- Arduino Ethernet 5V
- Flame Sensor Vcc --- Arduino Ethernet 5V
- Flame Sensor GND --- Arduino Ethernet GND
- Flame Sensor A0 --- Arduino Ethernet Analog A1
- Flame Sensor D0 --- Arduino Ethernet Digital D3
The flame sensor has the connection to the analog pin to check the variations of the value, while the connection to the digital pin is for the flame detection, beyond a certain level of intensity, adjustable by the potentiometer on the sensor so you can adjust it as you like best for your application.
The Source Code
The DHT11 library used in the tutorial code can be downloaded from this link from My Gdrive.
Conclusions
The tutorial shows how to receive data in real time on the Thingspeak platform, which is easily interfaced with many apps on the Android Playstore.
In the next tutorial we will see how to receive notifications on Push Bullet application on PC and Smartphone in order to be always updated on the events of the home-made weather station.
In the meantime you may be interested in a previous tutorial on how to connect a Telegram bot to the Thingspeak platform so you can request data at any time you want!
At the next tutorial and if you have any questions, comment below the post!
And do not forget to subscribe!😇


Comments
Post a Comment